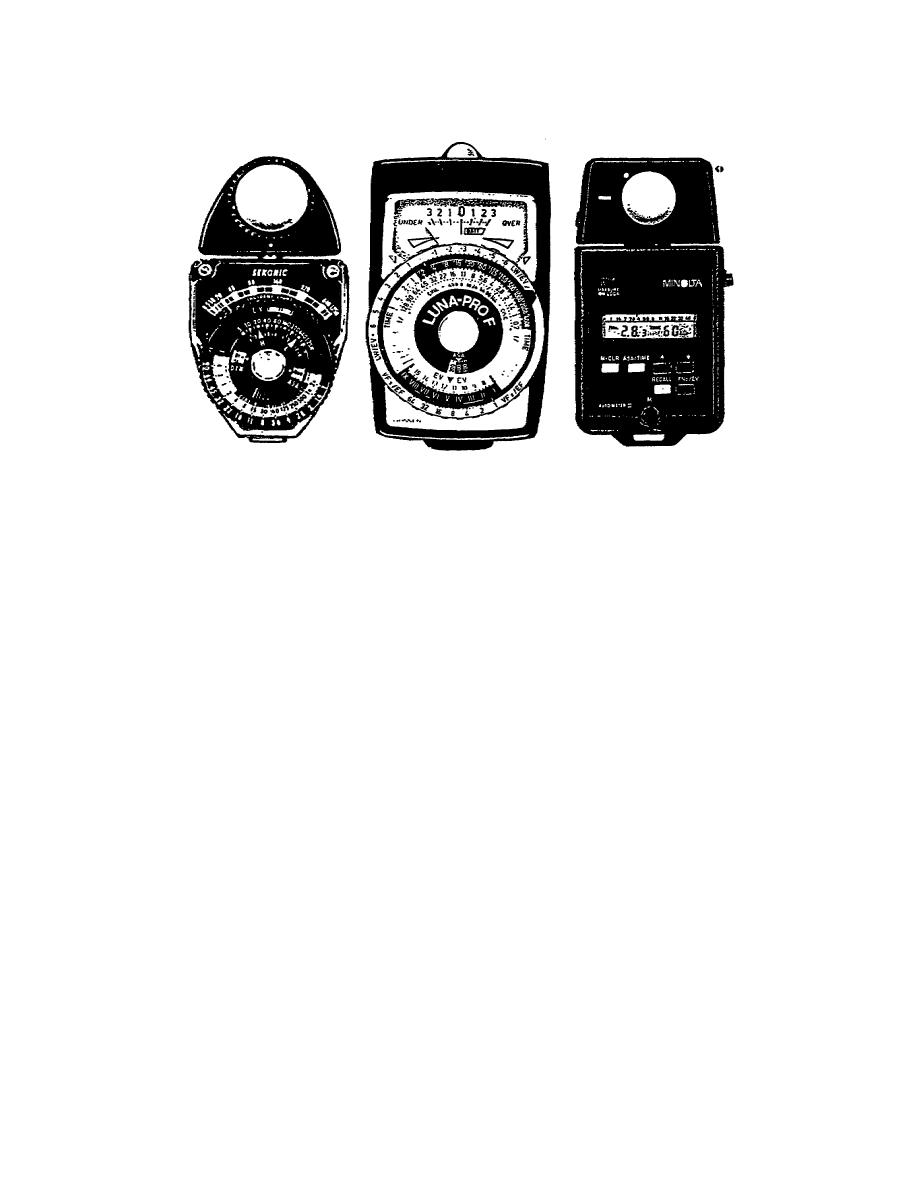
dial entirely and show a suggested exposure with light-emitting diode (LED)
or liquid crystal displays like those found on digital watches.
Figure 1-12.
Three types of light meters
5.
Take a look at the calculator dial shown in Figure 1-13. Once again,
this is something that looks complicated, but really isn't. First of all,
there's a little window, marked "ASA". ASA is just an obsolete abbreviation
for what we now call the International Standards Organization (ISO), and it
is, naturally, the same film speed we talked about earlier in this chapter.
Notice that only some of the film speeds are actually numbered. Others are
simply indicated by tick marks (fig 1-13).
This is what a complete film
speed scale looks like, and what those little tick marks represent.
By
turning the innermost dial, you can set any ISO number you wish, and this
adjusts the rest of the dial scales to match.
This is the most precise
scale available on the meter; each tick mark represents a 1/3-stop change in
the meter settings.
All the other scale markings are 1/2-stop or more
apart.
The outermost scale is a reproduction of the scale behind the
indicator needle, and next to it is an indent mark, in this case, a large
arrow.
This arrow is set to the same number the meter's needle moved to
when the reading was taken. The most important scale should look familiar
to you by now.
Remember the section on equivalent exposures and how to
construct an equivalent exposure calculator?
Well, that's all this is.
When you set the index mark to the number the meter needle fell on when the
reading was taken, you slid the f/stop scale along the shutter speed scale
as you did this. So now you simply choose one of the equivalent exposure
settings which match the dial and shoot your picture.
6.
You probably suspect that this isn't the whole story. First of all,
you need to know how to use the meter to take a light reading in the first
place, and second, you need to know how to interpret what the reading really
means. Let's talk about taking readings first.
17


 Previous Page
