LESSON 2
b. Process the print normally. After the test print has been in the
fixer for a couple of minutes, it may be removed, rinsed in fresh water, and
inspected under white light to determine which of the test exposures is
correct. If none of the exposures appear to be normal, the correct exposure
may fall between two of the exposures. For example, the six-second exposure
may appear too light and the eight exposure may appear too dark. This would
indicate that you should use seven seconds of exposure time. A good example
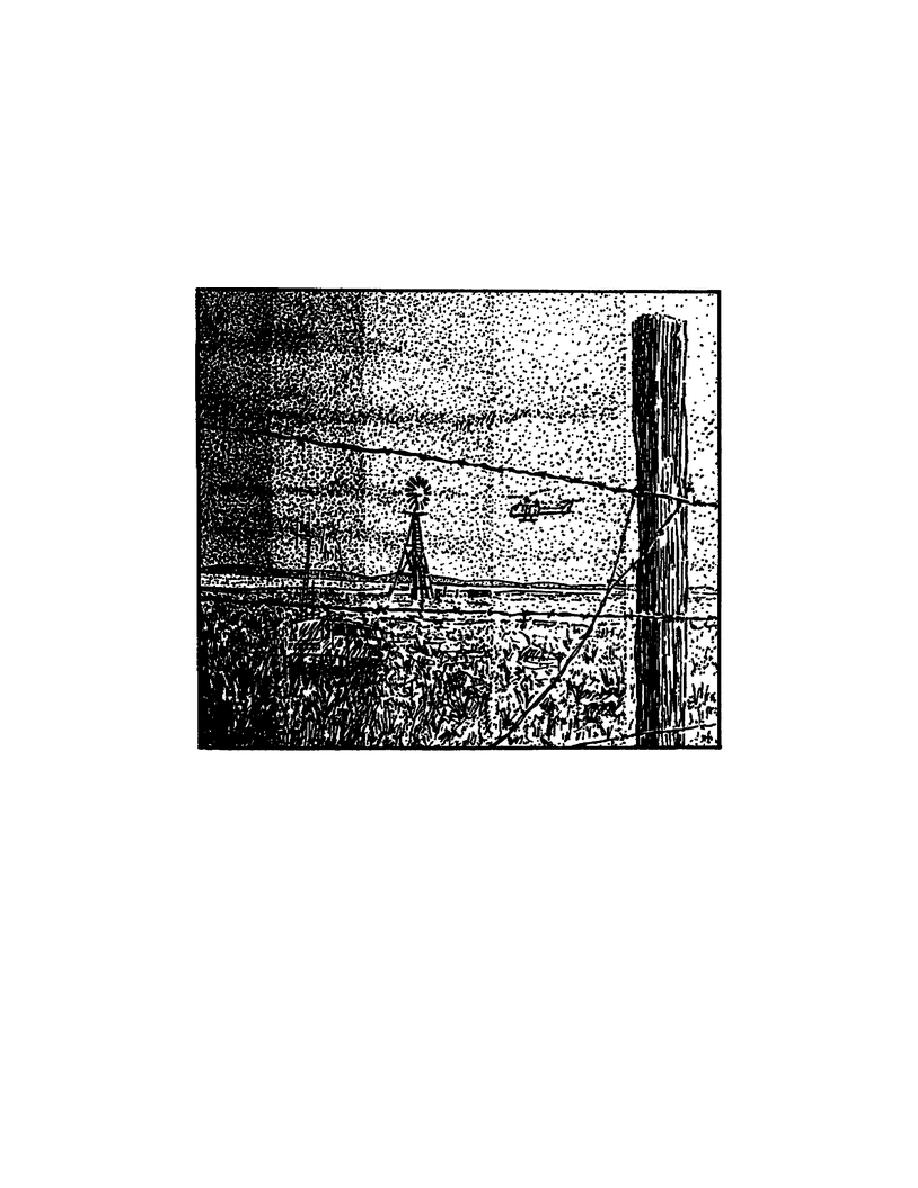
of a test print is show in Figure 2-8.
Figure 2-8.
Test print
c. What about contrast? A good print usually has a white somewhere in
the highlight area, a black in the deepest shadow, and a scale of grays
between these two tonal extremes. Generally, if the highlights and middle
tones are correct, but the shadows areas are too light, then you should
increase the contrast. If the highlights and middle tones look good but the
shadow areas are too dark, then decrease the contrast. If you have doubts
about the proper contrast, make additional prints using different filters or
different grades of paper, whichever may apply. Inspect the group and then
decide which print has the most pleasing or realistic contrast.
65


 Previous Page
