e. Generally, it is
best to position the back light directly behind the
object or subject being
lighted (opposite the camera).
However, if due to
studio size constraints,
the back light must be placed to one side or the
other, it is best to keep
it as near to the rear of the object being lighted as
possible.
f. A more critical problem is controlling the angle at which the back
light strikes the object. If it is positioned directly above the object, it
becomes a toplight, which is undesirable. If it is placed too low, the back
light may shine into the camera lens causing flare and halo. This could also
damage the camera pickup tubes. In general, lighting angles of 45 degrees are
considered ideal for normal lighting situations.
g. Like the key light, a spotlight is generally used as the back light.
Once again, this allows a great deal of directional control over the light.
h. Once the key and back lights are set, the dimension of the object
should be shown quite well. However, the falloff from light to dark areas is
extremely fast.
Also, the shadow area of the object is so dense that the
camera is unable to see any object detail within this shadow area.
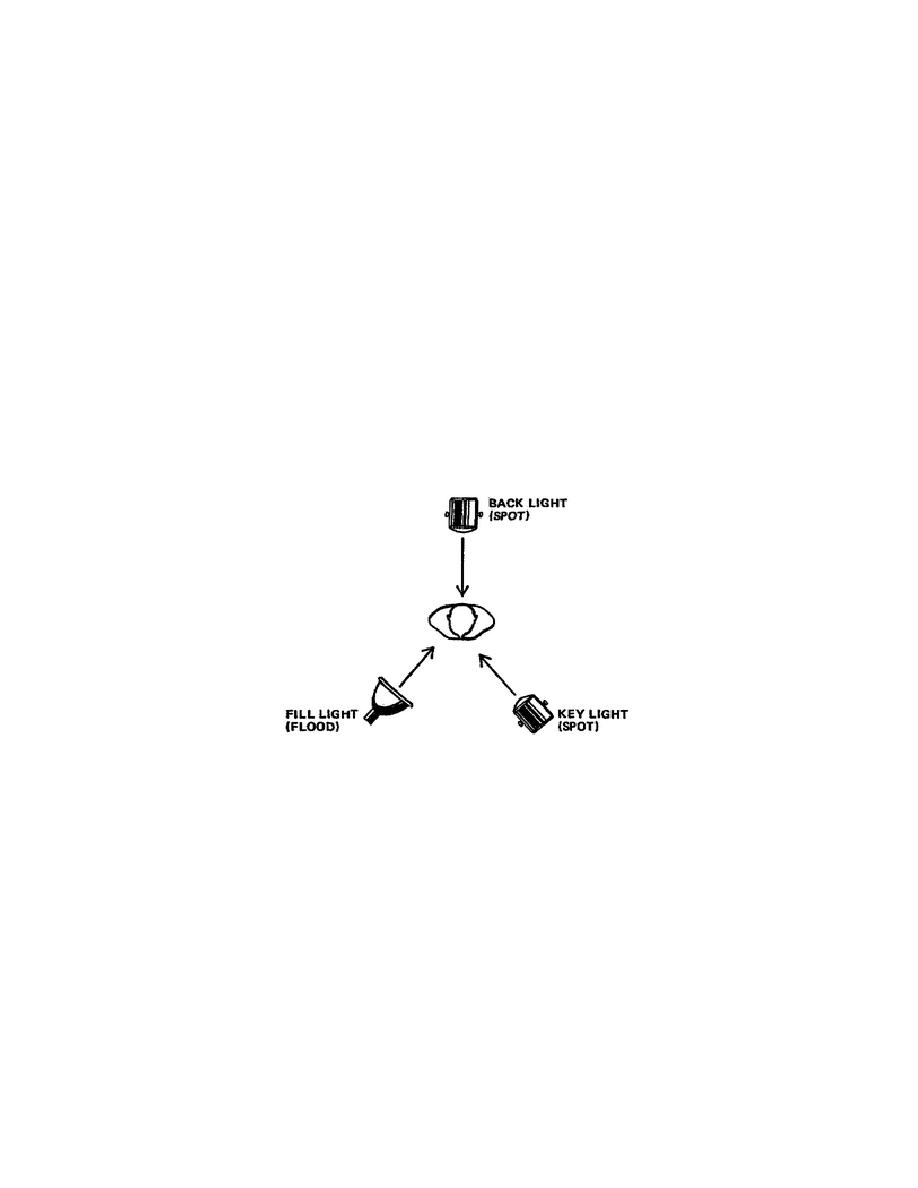
Consequently, it becomes necessary to slow down the rate of falloff through the
use of a fill light (fig 1-4).
Figure 1-4.
Fill light
i. When placing the fill light, care should be taken not to eliminate all
shadows because this eliminates the three-dimensional effect we are trying to
create.
j. The ratio of key light to fill light is best, if it is about 2:1 (fig
1-5). That is, the key light is twice as bright as the fill light. This will
reduce shadow density but still maintain enough shadow area to complement,
rather than eliminate, the three-dimensional effect.
7


 Previous Page
