LESSON 1
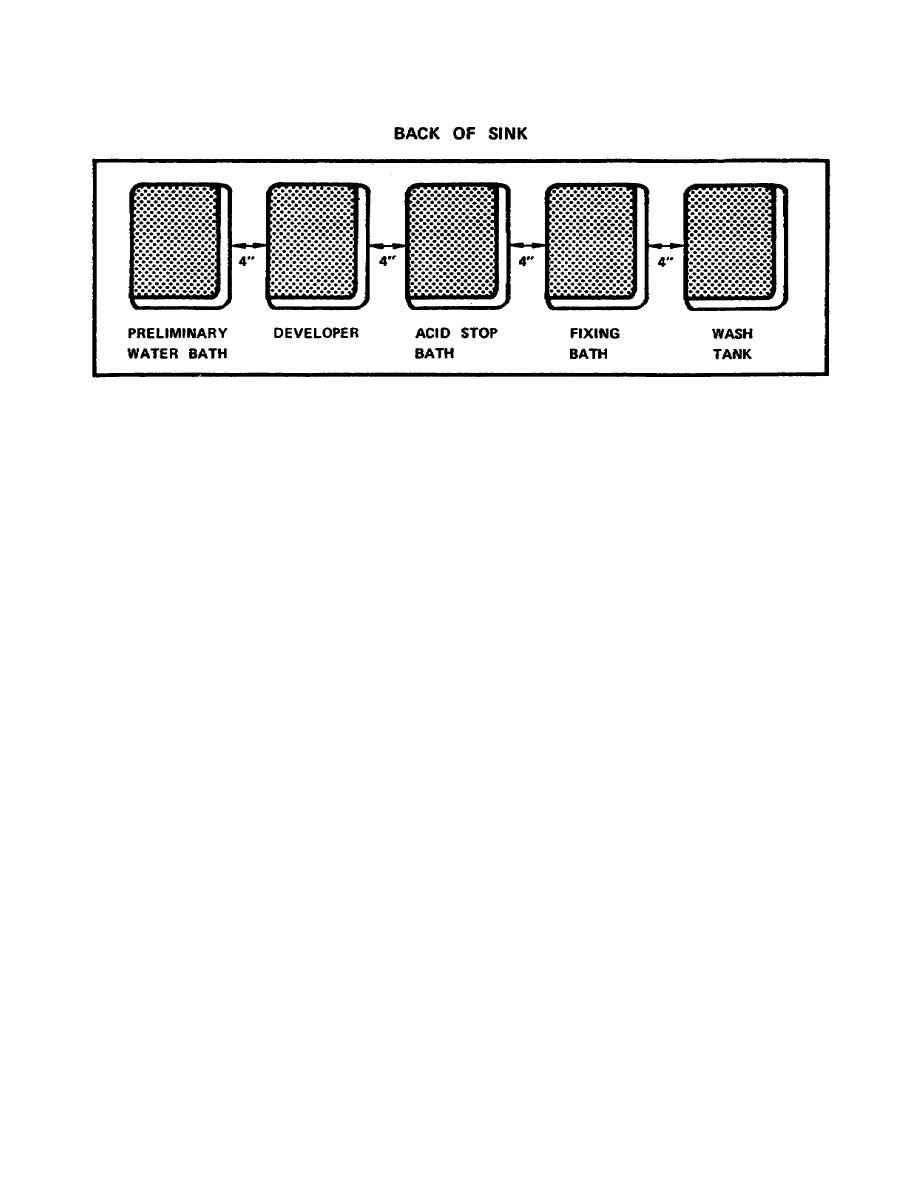
Figure 110. Arrangement of trays in tray processing
d. Place the trays far enough apart to prevent the solution from
splashing into an adjacent tray during processing. Approximately two inches
will do.
e. Bring solutions to the proper temperature and set the time. Arrange
the holders containing the exposed film in a convenient, dry position, turn
off the lights, and remove the film from the holders.
f. Be careful not to get dirt and fingerprints on the film, especially
when handling it in the dark.
g. Immerse the exposed film, one sheet at a time emulsion side up in
the tray of water. Each sheet must be completely covered with water before
the next one is placed over it.
h. When all the film is in the tray, draw one sheet carefully from the
bottom of the pile and place it on the top, emulsion down. Handle the film
only at the extreme edges and do not let a corner or an edge of any sheet of
film dig into the film emulsion below it. Repeat this replacement from
bottom to top, always inverting the film, until individual film sheets have
been leafed through twice. This will prevent the film from sticking
together and will dislodge any air bubbles that may have formed.
i. Start the timer and transfer film quickly, one sheet at a time from
the bottom of the pile into the developer tray. Continue rotation of the
film from the bottom to the top throughout the development period.
19


 Previous Page
