you to check the quality of the lines and to ensure no foreign matter is
lodged in the tip.
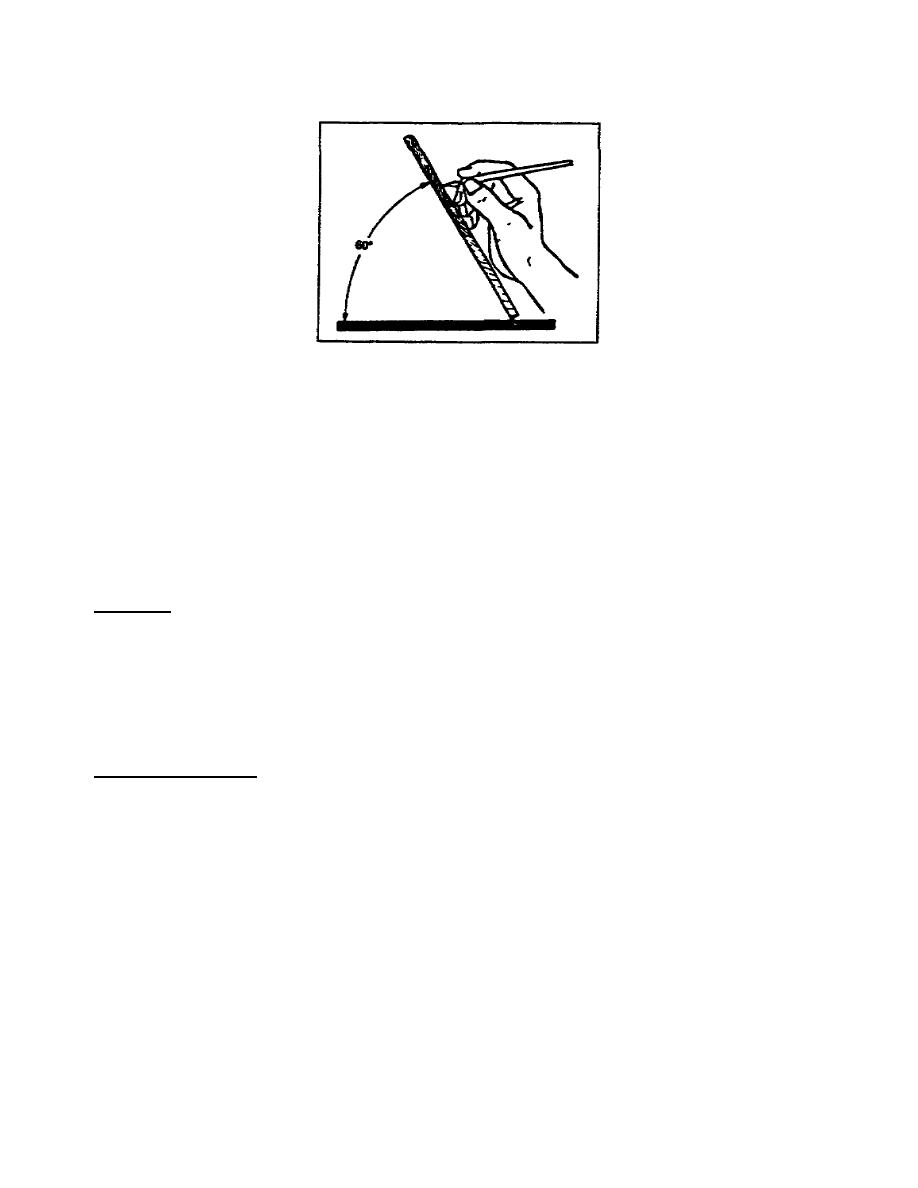
Figure 28. Work position for using pens
c. Cleaning the Pen. Do not allow any foreign matter to collect in
the nib. Clean the nib as often as necessary. When you have completed
lettering the project, thoroughly clean the pen with pen cleaner and pat
the nib dry with a lintfree cloth.
d. Correcting Mistakes. Even the best illustrators make mistakes. If
you make a mistake while using ink, correct the error by lightly scraping
the mistake with a steel eraser. Then reburnish and reink the surface,
or cover the error with whiteout and reink the surface.
7.
Summary.
This concludes the discussion of pens as a lettering tool. Next you will
learn to identify and use markers and brushes to letter.
PART C TECHNIQUES OF LETTERING USING DIFFERENT TYPES OF
BRUSHES AND FELT TIP MARKERS
8.
This is another lettering tool that requires practice to obtain and
maintain proficiency. Use brushes to produce letters ranging from 1/4
inch to 10 feet or more in size. All brushes have three major components:
(1) hairs, (2) ferrule, and (3) a handle. There are three different
shaped brushes you use to letter: (1) round, (2) bright, and (3) flat
(figure 29).
a. Round Brush (brushes A and B). The hairs of the round brush come
to either a sharp point (brush A) or a blunt point (brush B). The shape
and the pressure exerted on the brush while applying paint determines the
type of lettering for which
2-9
SS0525


 Previous Page
