you do not need any unnecessary surprises. Roll the cable on through if it
is clear and bring the cable back up to the road in the direction you need
to travel. Secure the cable to another stake and tag it on the running end.
9.
The standing end of the cable is what has been laid on the ground
prior to the stake.
The running end is the cable that you are going to
continue traveling with. Tags should be placed on the cable going down to
the culvert.
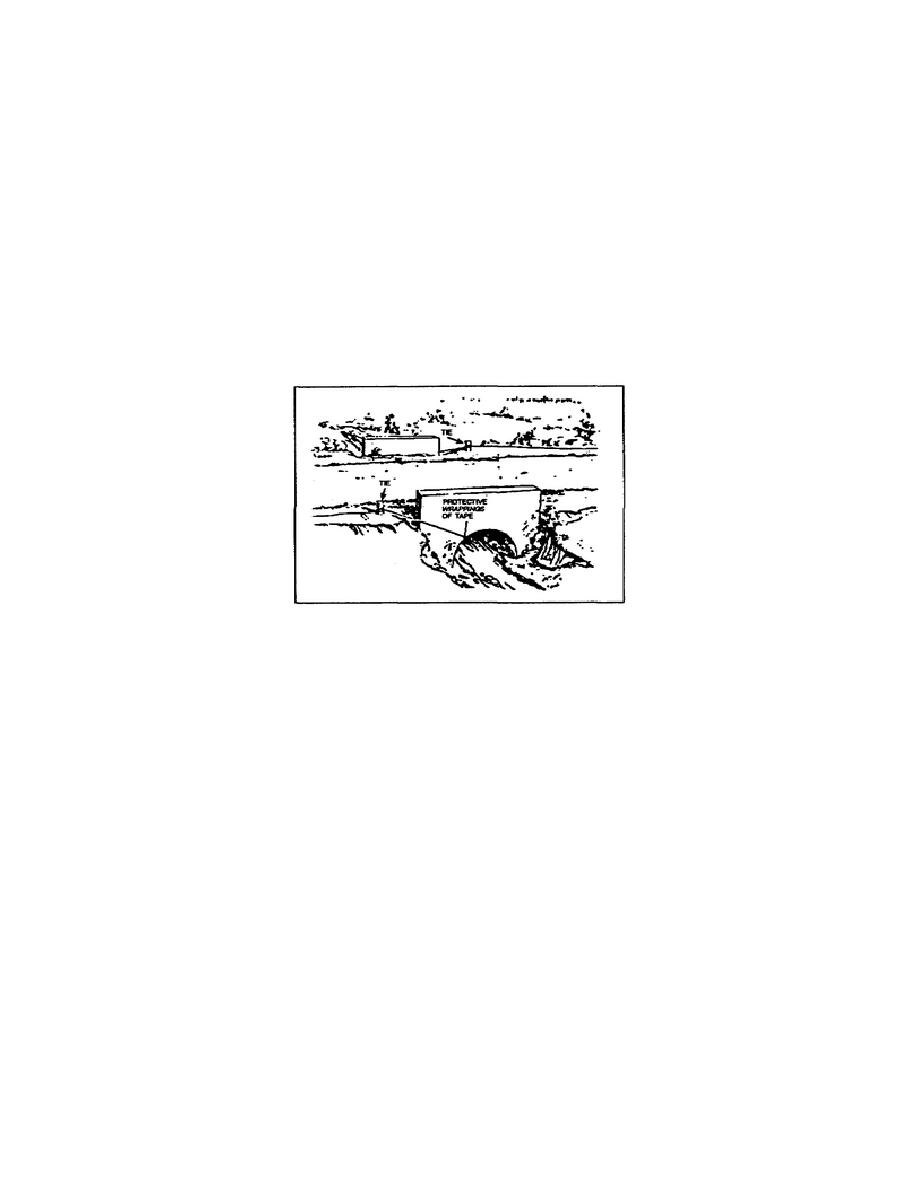
10. Now that the cable is through the culvert, you still have some tasks
to complete. The cable should be pulled taut and taped at the point where
it would touch the cement culvert.
This will provide protection to the
covering of the cable and prevent damage. The cable should follow along the
top of the culvert to prevent debris from becoming entangled in the cable.
See Figure 2-1.
Figure 2-1.
Cable crossing through culvert.
11. Another method of crossing the road is by burying it. However, this
is only used if the road is unpaved. It is also time consuming.
12. Dig a trench 6 to 12 inches deep across the road. The trench should
extend at least 2 feet beyond each side of the road. In loose sandy soil or
on the beach, a trench at least 3 feet deep is necessary to afford the
protection from tracked vehicles.
13. The cable is placed in the trench loosely. A stake must be placed 1
foot from the end of the trench. This is used to secure the cable. A tag
must be placed on the cable to identify it and is placed as stated before on
the standing and running end. There should be no reason to place any slack
in the cable before or after the cable comes out of the trench. However, if
you are near the end of the reel of cable, you should consider connecting
the next reel of cable to eliminate placing a connector in the trench.
14. Do not forget to fill in the trench.
Do not place rocks, limbs, or
sharp objects in the trench.
They can work their way to the bottom and
damage your cable. The ground should
2-3
SS0444


 Previous Page
