Learning Event 4:
USE EDITING, SPLICING, AND DUPLICATION TOOLS AND PROCEDURES
1.
Editing and splicing tools.
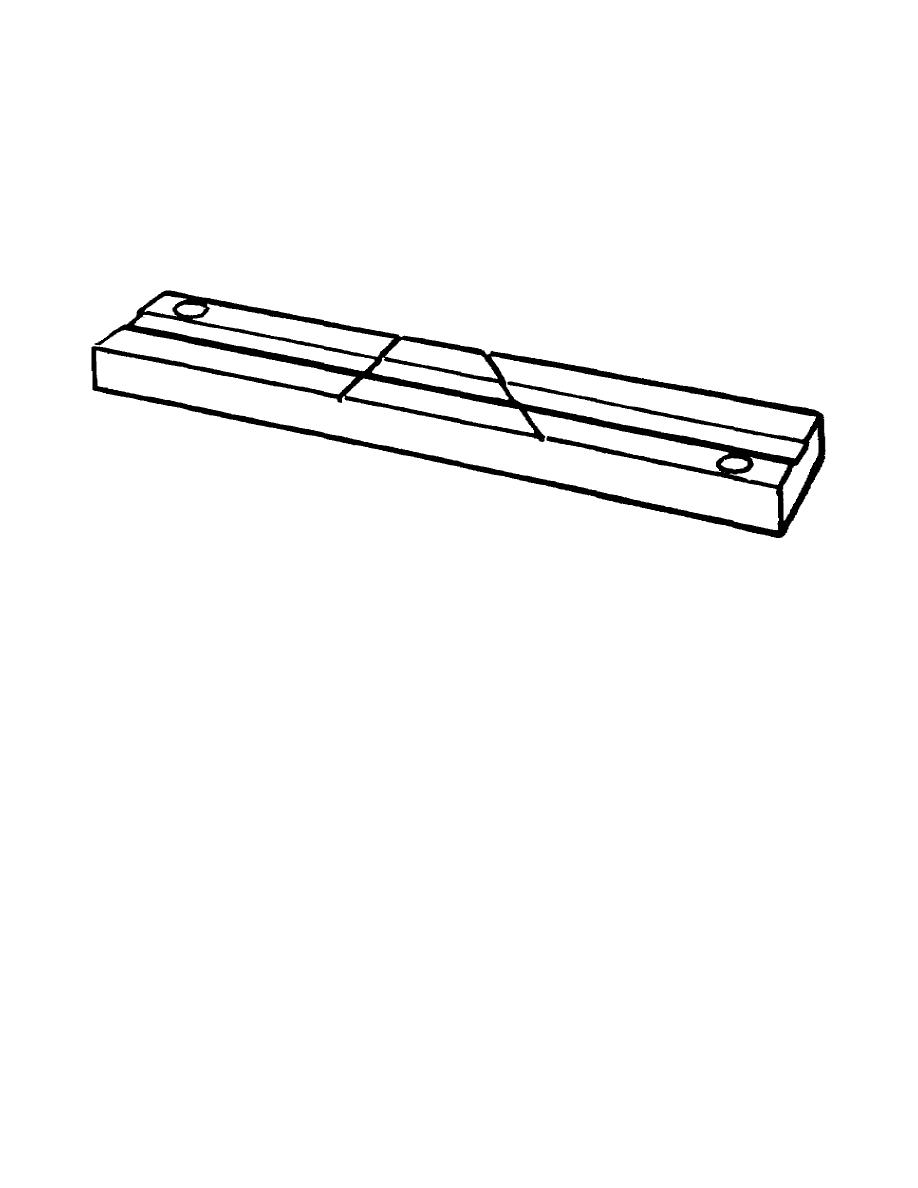
a. An "editing block" is simply a block (metal or plastic) with a channel cut in it to hold the
tape and cutting grooves at 45 and 90 degrees. The editing block can be fixed firmly to the table by
using bolts or screws (fig 4-35).
Figure 4-35. The EdiTall tape editor
b. A single-edged razor blade is the safest tool, although a double edge can be used with a
holder.
c. A soft wax or grease pencil for marking editing points. Yellow or white will show up best on
the tape.
d. Leader or timing tape (a nonmagnetic paper or plastic), uncoated and marked in intervals of 3
1/4, 7 1/2, and 15 inches. This tape (made of plastic or paper) is used for timed pauses, spacing, visual
identification, and as leader at the beginning and end of a recording segment.
e. Splicing tape is supplied in varying widths. The width selected should be based on the
splicing requirements. For use with the editing block, a tape slightly narrower than the magnetic tape is
performed. This makes trimming unnecessary.
2.
Editing your material. Locate the area of tape to be removed. Monitor a broad portion of the
area. Hand wind tape across the area until exact location is found.
a. Since sound is represented at the gap of the playback head, once a
62


 Previous Page
