b. Prepared Lettering. As a graphics documentation specialist, you
have a wide variety of sizes and styles of pressure-transfer lettering
sheets to choose from when lettering a graphics project using this
method.
(1) A lettering sheet. A lettering sheet has the letters of the
alphabet printed on the back side of a waxed acetate sheet.
Each
lettering sheet has a protective backing sheet to protect the letters
from sticking to another letter sheet during storage. For this reason,
you must apply the backing sheet when not using the lettering sheet.
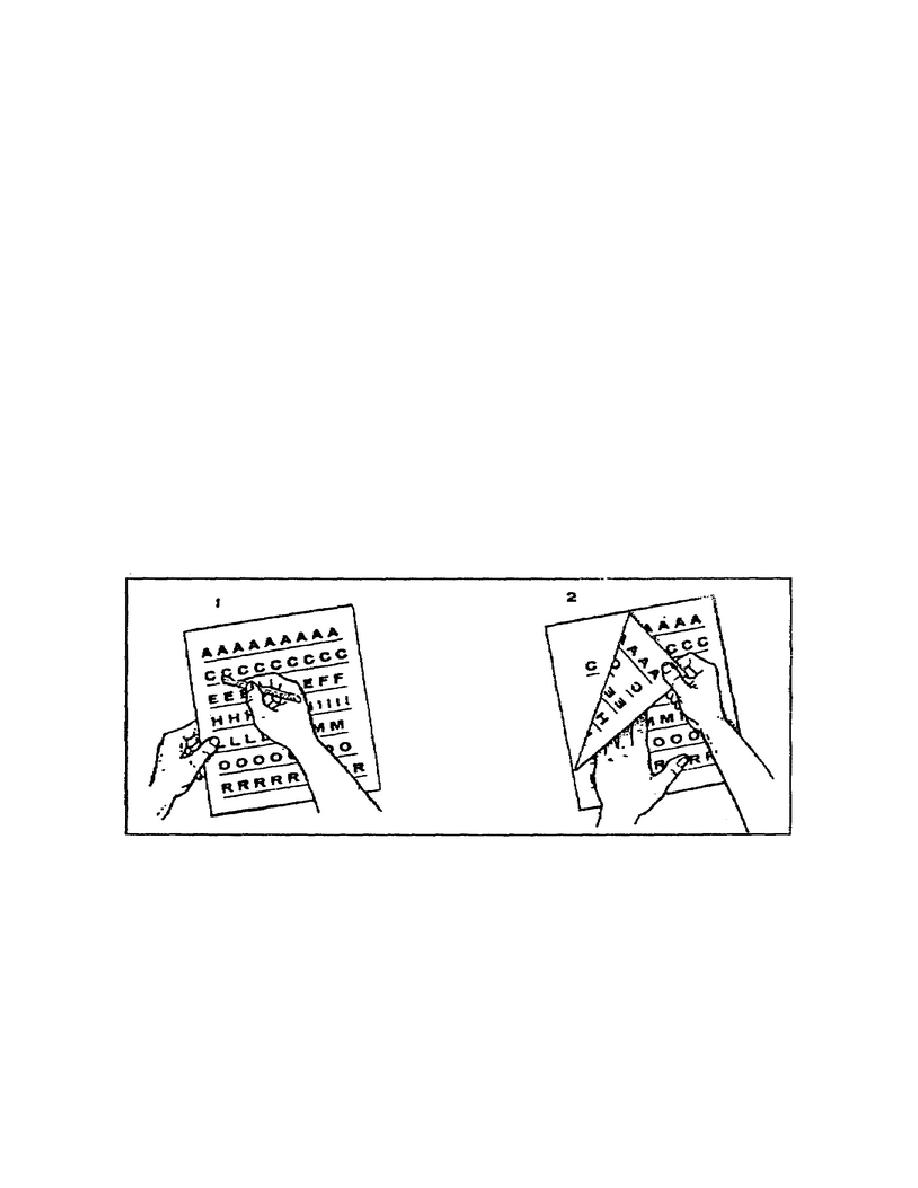
(2) Applying pressure-transfer letters.
When applying pressure-
transfer lettering, the only guideline you must use is the baseline.
After you have determined the size and style of lettering for the
graphics project, draw the guidelines (baselines) for the letters.
Then remove the protective backing from the lettering sheet, align one
letter at a time with the guidelines, burnish the letter into place with
a plastic burnishing tool, and lift the letter sheet (figure 1-74). If
you do not have access to a plastic burnishing tool, you may use any rod-
like object with a narrow, round end (e.g., the end of a comb). When
burnishing a letter on the lettering sheet, ensure you burnish only the
letter you must transfer to the graphics project. If you burnish two or
more letters simultaneously, they may stick or not align correctly.
Figure 1-74.
Burnishing a letter into place
(a) You should not use a pencil as a burnishing tool. A pencil
leaves graphite on the lettering sheets that could transfer to the
graphics project and ruin the project.
(b) If you apply the incorrect letter, you can remove it by
applying masking tape over the incorrect letter and
1-79
SS0530


 Previous Page
