carefully lifting it up with the masking tape.
Then you insert the
correct letter in the space.
(c) Pressure-transfer lettering sheets provide quality letters
for indoor use. However, you should only use them for small jobs since
they require much time to apply and have a limited number of each letter
on a sheet.
(3) Centering letters. You are going to encounter many instances
when a graphics project requires the lettering centered over graphics or
within a certain space. No matter what lettering method (mechanical or
pressure-transfer lettering sheets) you select, center the lettering
using the same process.
First you find the center of the area or graphic on which you must center
the lettering. Then find the letter that is in the center of the letters
you must apply and place it on the center of the area or graphics. Then
apply the remaining letters from the center out.
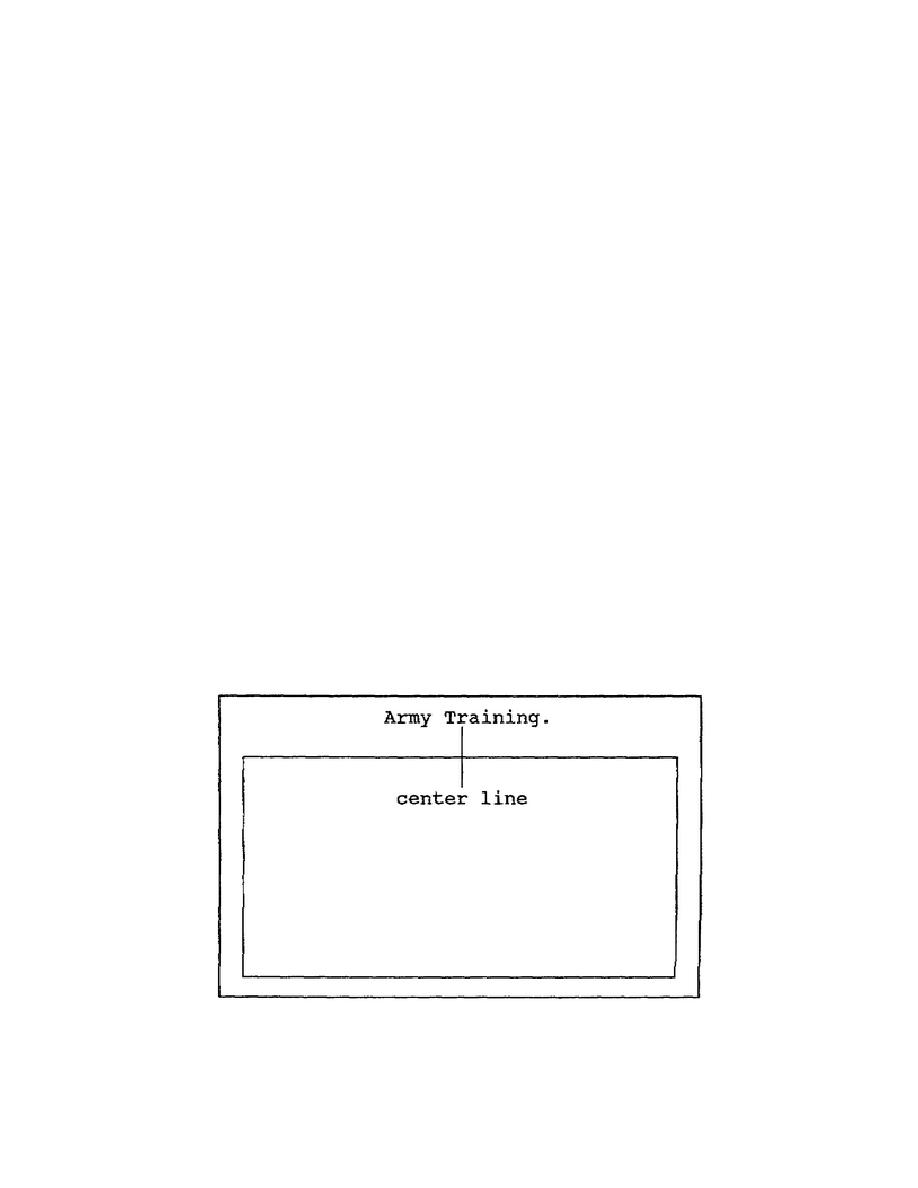
For example, you must center the letters "Army Training." over a box that
is 2- x 2-inches. First, you must find the center of the box, which is
one inch from either side. Next you count the number of letters, spaces,
and punctuations marks in "Army Training.", which is 14. With 14 spaces
used in the lettering, the letter in the seventh space is the center of
the group, the letter "r" in training. Therefore, you place the letter
"r" on the center of the box and apply the remaining letters from the
center out. Figure 1-75 shows the completed lettering centered over the
box. For a graphic presentation, you would not show the center line of
the box; however, the figure shows it so you can see the phrase is
centered over the box.
Figure 1-75.
Center of lettering in a graphic
1-80
SS0530


 Previous Page
