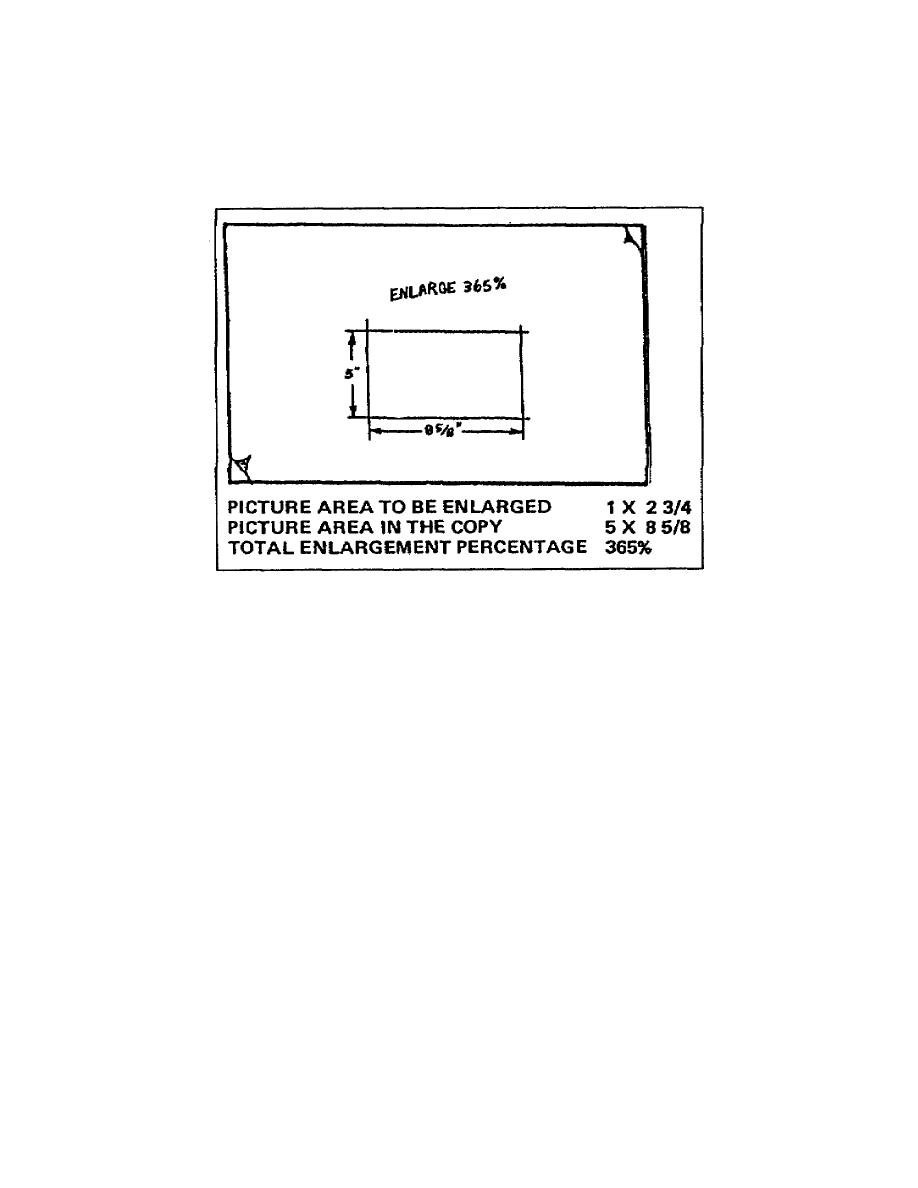
write in the desired height and width of the cropped area. Then use a
proportional scale (discussed previously in paragraph 2b(2)(a) of this
lesson), find the percentage of enlargement or reduction required to get
the graphic or photo to the desired size, and write it on the tracing
paper or the back of the graphic or photograph (figure 214).
Figure 214. Photo notes
(b) Opaque method of cropping. The second method of cropping
uses white opaque fluids. This method is just as effective as the
tissueoverlay method; however, it destroys the graphic or photo. Once
you have selected the area you want photographed, lightly outline it in
ink. Then use white opaquing fluid and paint a box around the area you
outlined. Next you add the dimension lines, size the area, and make the
required annotations like you did when using the tissueoverlay method
of cropping.
(4) Matching the graphics or photos to the layout windows. No
matter which method you choose to crop and size the graphics or photos,
you must ensure the photographer knows where to place each graphic or
photo in the layout. To accomplish this, you identify each graphic or
photo window on a page with a letter, and number each graphic or photo.
Then add a note on the back of the graphic detailing its number, the
page number, and the letter designation of the window where you want it
placed. For example, insert graphic 2, page 4, window B. This note
eliminates any misunderstanding or doubt in the printer's mind where
each graphic or photo belongs.
2-24
SS0530


 Previous Page
