a. Figure 2-8 shows the proper layout of a circle drawn in perspective.
The first step in the layout is to draw a circle with the dimensions
desired. Fit a square around the circle as shown in the second step and add
the diagonals, center lines, and vertical lines shown in step two.
The
points at which the circle and square division lines intersect will give you
eight checkpoints for drawing the circle in perspective. The third step is
to draw the square in perspective including diagonal lines, center lines,
and vertical lines. The points at which the circle lines cross the diagonal
and other division lines in the perspective square are the points through
which the curve of the ellipse is drawn.
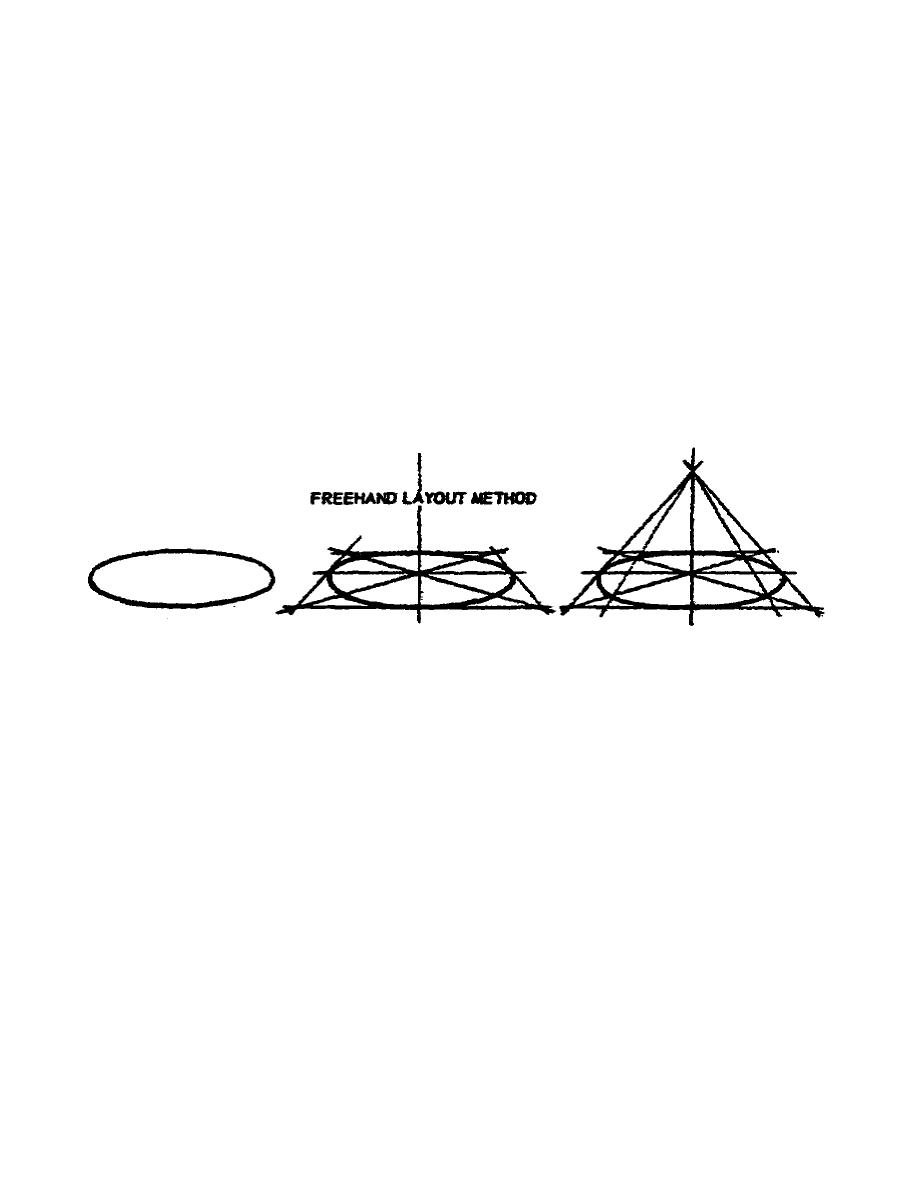
b. When drawing ellipses it is often best to rough them in freehand and
get the general shape desired, then relate the square in proper perspective
superimposed on the freehand ellipse. This procedure is down in Figure 2-9.
When the square is proportionally correct, cross the center with two
diagonal lines and cross these with a vertical line through the intersection
of the diagonal lines.
Draw a horizontal line through the center to
determine the perspective center.
Use the vanishing point to have the
direction of the receding lines correct.
Figure 2-9.
Drawing the circle in perspective
c. Figure
2-10
shows
a
circular
cylinder
constructed
in
two-point
perspective.
d. Figure 2-11 shows some of the applications of the circle in
perspective when it is associated with the right circular cylinder. At the
eye level the circular section line appears as a straight line. Above and
below the eye level the circular sections appear as ellipses that become
progressively more open as their distance above and below the eye level
increases. The proportion of the ellipses, the proportion of short to long
diameters, also depends upon the distance of the cylinder from the eye. The
nearer the eye, the more open the ellipse; the farther the eye, the thinner
the ellipse.
When seen at a considerable distance the ellipses appear as
nearly straight lines.
21


 Previous Page
