LESSON 1
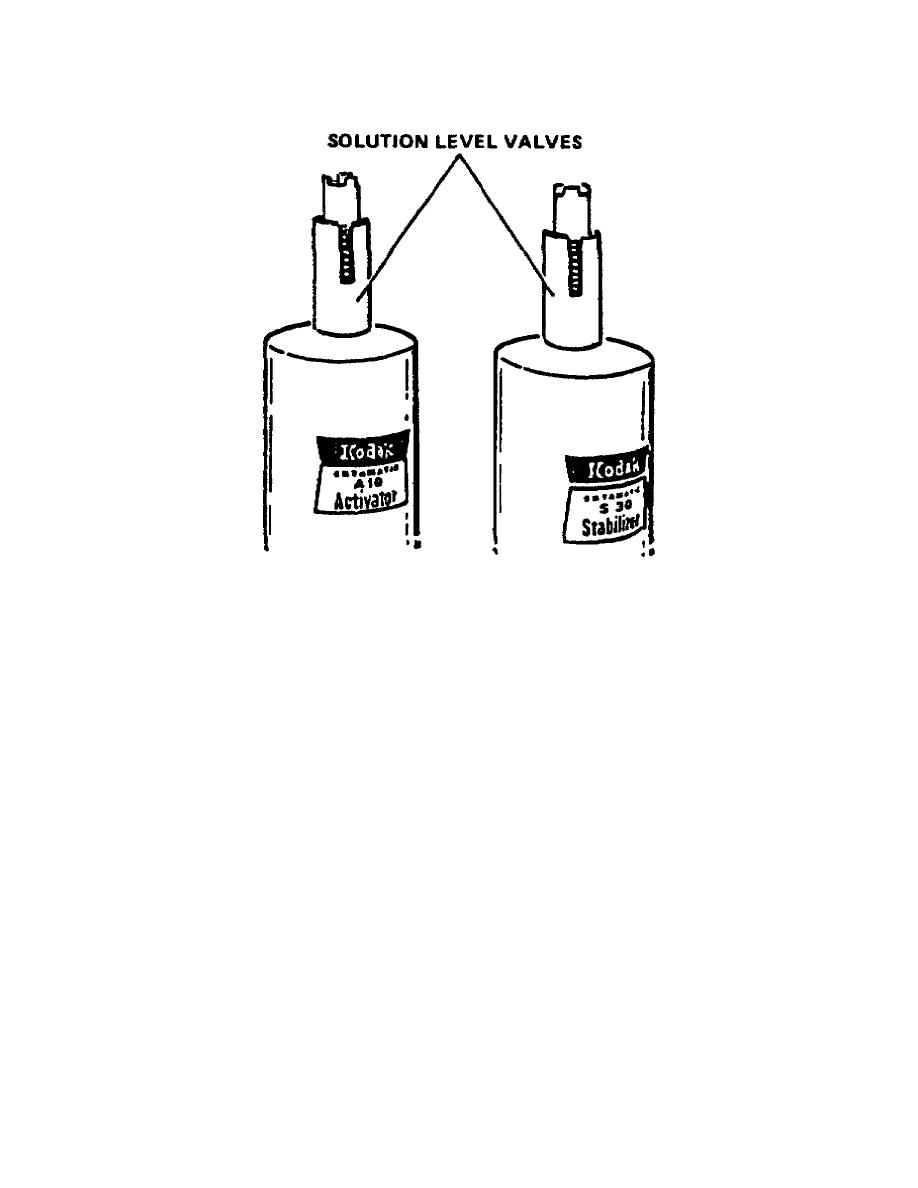
Figure 1-17.
Solution level valves
(8) With the bottles held above the processor, turn them upside down
and quickly insert them into the openings provided in the processor.
Be
sure each chemical bottle is inserted into its proper hole; i.e., the
activator in the opening marked, "Activator," and the bottle of stabilizer
inserted into the rear opening marked "Stabilizer" (fig 1-18). Ensure both
bottles are seated firmly in the tray. When the processor is first started,
slightly less than one quart of activator and slightly more than one quart
of stabilizer are required to fill the trays.
When a bottle is empty,
install a full one.
b. Processing paper.
To start the processor, press the start-stop
button (fig 1-18). When the light in the button is lit, the processor is
on. Whenever the processor is used intermittently, be sure to run the drive
mechanism for several seconds before processing the first sheet of paper.
If the processor is to be used frequently, the drive can be left running.
CAUTION: Be very careful not to touch the emulsion side of the
paper before processing. To avoid chemical contamination of the
feed tray, be sure the processed prints do not come in contact
with the tray or housing as they are removed.
40


 Previous Page
